7/14/10

A Slice Of Homemade Heaven.

For those of you familiar with my blog, you know that I am embarking on a new, healthy lifestyle. Not a diet, but rather a lifelong commitment to my health. For years, I purchased those store-bought granola bars thinking that they were a healthy alternative to cookies, chips or brownies. Well, they are health-ier, but most brands still load up their bars with sugar or sugar substitutes and lots of other unnecessary ingredients (high fructose corn syrup, anyone?). 

These sweet little treats contain all natural ingredients (maybe minus the vanilla extract?) and are full of fiber. As of this morning, I am proud to say that I am no longer a store-bought-granola-bar shopper! Instead, I headed to my go-to website AllRecipes.com for all things culinary and found a ridiculously simple AND healthy recipe for...wait for it.............homemade granola bars! Healthier and cheaper- can't beat it! And since I'm so generous, I want to share the recipe with all of you so that you can taste the fresh-baked awesomeness!


Oh My Gosh Granola Bars
Yields about 6-8 squares/bars

Ingredients:
  • 2 cups rolled/quick oats
  • 1/4 teaspoon ground nutmeg
  • 1/2 cup packed brown sugar
  • 1/2 cup wheat germ
  • About 3/4 teaspoon ground cinnamon
  • 1 cup all-purpose flour
  • 1/2 cup Craisins, raisins or other dried berry (optional)
  • 1/2 cup dark chocolate chips (optional)
  • 1/2 cup honey
  • 1 egg, beaten
  • 1/2 cup vegetable oil (if desired, swap half or all of the oil with applesauce- this will change the taste and consistency slightly)
  • 1 teaspoon vanilla extract
  • Cooking spray

Directions:

1. Preheat oven to 350 degrees F (175 C), ignoring the crazy lady in the reflection of the cooking range.

  2. Using cooking spray, generously coat a 9x13 inch baking pan.3. In a large mixing bowl, mix together the oats, wheat germ, nutmeg, brown sugar, cinnamon and flour.  Stir in Craisins or dried fruit (optional). Make a well in the center, and pour in the honey, egg, oil and vanilla. 4. Using your hands, mix well until mixture is thoroughly blended. 5. Pat the mixture into the greased pan as evenly as possible, pressing down as needed. If using chocolate chips, spread the chips over the mixture and press into the mixture as much as possible.  


6. Bake for 30 to 35 minutes until the mixture begins to turn golden brown around the edges. Cool for 5 minutes, then cut into bars/squares while still warm. Do not allow the bars to cool completely before cutting, as this will make them difficult to cut.


 (I have no idea why that corner piece on the right is missing a chunk. I swear.)


    Serve and enjoy!

    7/7/10

    Improving Our Home In Layers...Like A Lasagna!

    You might be wondering what the heck lasagna has to do with home improvement and decor (or you might just be wondering if I'm nuts, which I am). Let me explain. My research online has led me to many wonderful blogs from other homeowners and DIYers, many of which adhere to the same principle of layering. Also, being first-time homeowners, Mr. S. and I have kind of been doing this whole thing as we go along. Everything from plumbing issues to ripping out our old stairs and replacing them with new ones has been a learning process from start to finish. Some things, such as the cracking stairs, needed to be replaced right away. Other projects-say, the search for a chandelier and painting the front door- are things that can wait a while as time and finances permit. 

    Hence the lasagna reference: a lasagna has layers (mmm...lots of cheesy, gooey layers. Note to self: make lasagna for dinner next week!). We don't believe in finishing one room then moving onto the next, so our home improvement projects are completed in "layers". For example, we're painting the office and then the future nursery (third bedroom) and master bedroom. We also just bought a new stove and dishwasher, and we're gearing up for staining the deck in our backyard. Over time, the cosmetics of the home will eventually come together and my husband will no longer have to listen to my list of complaints (maybe). So there you have it. Layers

    7/3/10

    Light My Fire...And Dining Room!

    For weeks, I've been searching for the perfect chandelier to replace the ugly ceiling fan that is currently hanging (off-center, I might add) over our brand new dining room table. Instead of just going out and buying a new one though, I've been scouring the local thrift stores, Goodwill and Craigslist for a vintage piece de resistance. Sadly, my search has been in vain, and I haven't found that one special chandelier that really butters my toast yet. In the meantime though, I've been drooling over these beauties:


    I'm really loving the whole using-an-outdoor-lantern-indoors thing that's hot right now, and apparently the folks at Pottery Barn and Restoration Hardware share my appreciation (see above photos for proof). It fits my style perfectly, which is a combination of French-inspired, cottage, coastal, country and traditional. Mr. S is purely traditional. When I'm decorating though, I don't necessarily choose items that adhere to these styles or any "decorating rules" ( I know, I'm an affront to interior designers everywhere). Honestly, I just like what I like. If I don't absolutely love something though, I don't get it. That's my rule. That and what I like to call the "pretty vs. purposeful" rule: is it something that is purely decorative, or can it function in another way?

    However, as my mother once said, an object that is solely decorative still has a purpose (so I can still justify my Target purchases even though I don't have anywhere to put them? Sweet!). I also do a mental scan of our house/floor plan if I find something I like, that way I can "visualize" it in a space before I get it. And boy can I visualize some of these chandeliers hanging over our brand spankin' new table. Maybe Christmas will come early this year? We'll see.

    6/25/10

    Quick Change: Re-purposed Coffee Can.

    Being a naturally creative person is quite challenging at times. Although I enjoy doing creative things and completing projects, my mind is always spinning with ideas to do this or that (I'm sure I drive Mr. S bonkers sometimes!). So, never one to succumb to boredom, I got a crazy idea to re-purpose an empty coffee can. I love taking objects that serve a specific purpose then making them over into something completely different! Total cost of can: Zero dollars (we had it already thanks to our shared coffee addiction). Total cost of scrapbook paper: Zero dollars, as I already owned it. Taking care of the 3 R's (reduce, reuse, recycle) in one project: Priceless. Here it is in all its metal glory before the ol' makeover:


    And after:


    Here's a shot of the back. Since my scrapbook paper wasn't wide enough to cover the can, I simply cut a small strip at the top of the paper and just attached it to create a seam. No ruler needed! No, it's not perfect, but it doesn't need to be since no one will see it. This coming from a Type -A control freak, mind you!

    This project literally took five minutes from start to finish, and it's such a simple yet fun addition to our home office. All you need is a coffee can, some scrapbook adhesive (glue or double-sided tape would work just as well), scrapbook paper (I used acid-free scrapbook cardstock) and some little jewels with a sticky backing if you want to add some bling. That's all there is to it! F-R-E-E pencil/pen/colored pencils/thingamabob holder! An added bonus? It smells like coffee still, even though I washed it out before snazzing it up. Score!

    6/15/10

    Tackling The To-Do List.

    Things are really starting to get done around here. In just a month, we found a new dining room table (one we both loved- go figure!), purchased a new freestanding range and dishwasher, and replaced the damaged hardwood floor planks in our kitchen (with the help of a dear friend). No, we are not independently wealthy, nor did we strike it rich and win the lottery. Though my husband does work hard for the income he provides us with, we are just your average middle-class family living in the 'burbs. We are also careful with our money, and live within our means. That being said, we have been able to tackle these projects all at once because Uncle Sam is footing the bill. With two adult college students living under one roof (read: educational tax credits) and the tax credit we received for first time home buyers, we consider ourselves blessed to be able to improve our lives and our home. 

    Although our new appliances and table have yet to be delivered, I thought I'd provide you with some eye candy anyway:

     (Instead of purchasing all six chairs, we decided to just get two "head" chairs. We already have six chairs that are in good-as-new condition. I am painting four of the existing chairs black to provide some modern and sleek interest to the distressed white/oak table. Doing this has also helped keep costs down).


     (Both of the appliances are LG and were on sale at Home Depot when we purchased them, plus we got a rebate!)

    Despite everything we are doing or have done, we still have a long way to go! Since Mr. S. still has a year of grad school left and I may be entering grad school in September, we want to get most of the important stuff done this summer. That shouldn't be hard, right? Before you answer, here's what we have to get done before fall:
    • Weed (or de-weed) flower bed and plant new flowers (done)
    • Plant more vegetables in our veggie garden (done)
    • Fix garage door
    • Replace old, ugly and broken interior doors
    • Paint or replace front door
    • Rip up ugly carpeting and replace with hardwood
    • Paint master bedroom, guest room/future nursery, home office (third bedroom-done), family room/finished basement and possibly main floor (kitchen/living room/dining room)
    • Add bead board and crown molding to ceilings in bedrooms and office after painting
    • Replace old, stained carpet in family room with new carpet or hardwood
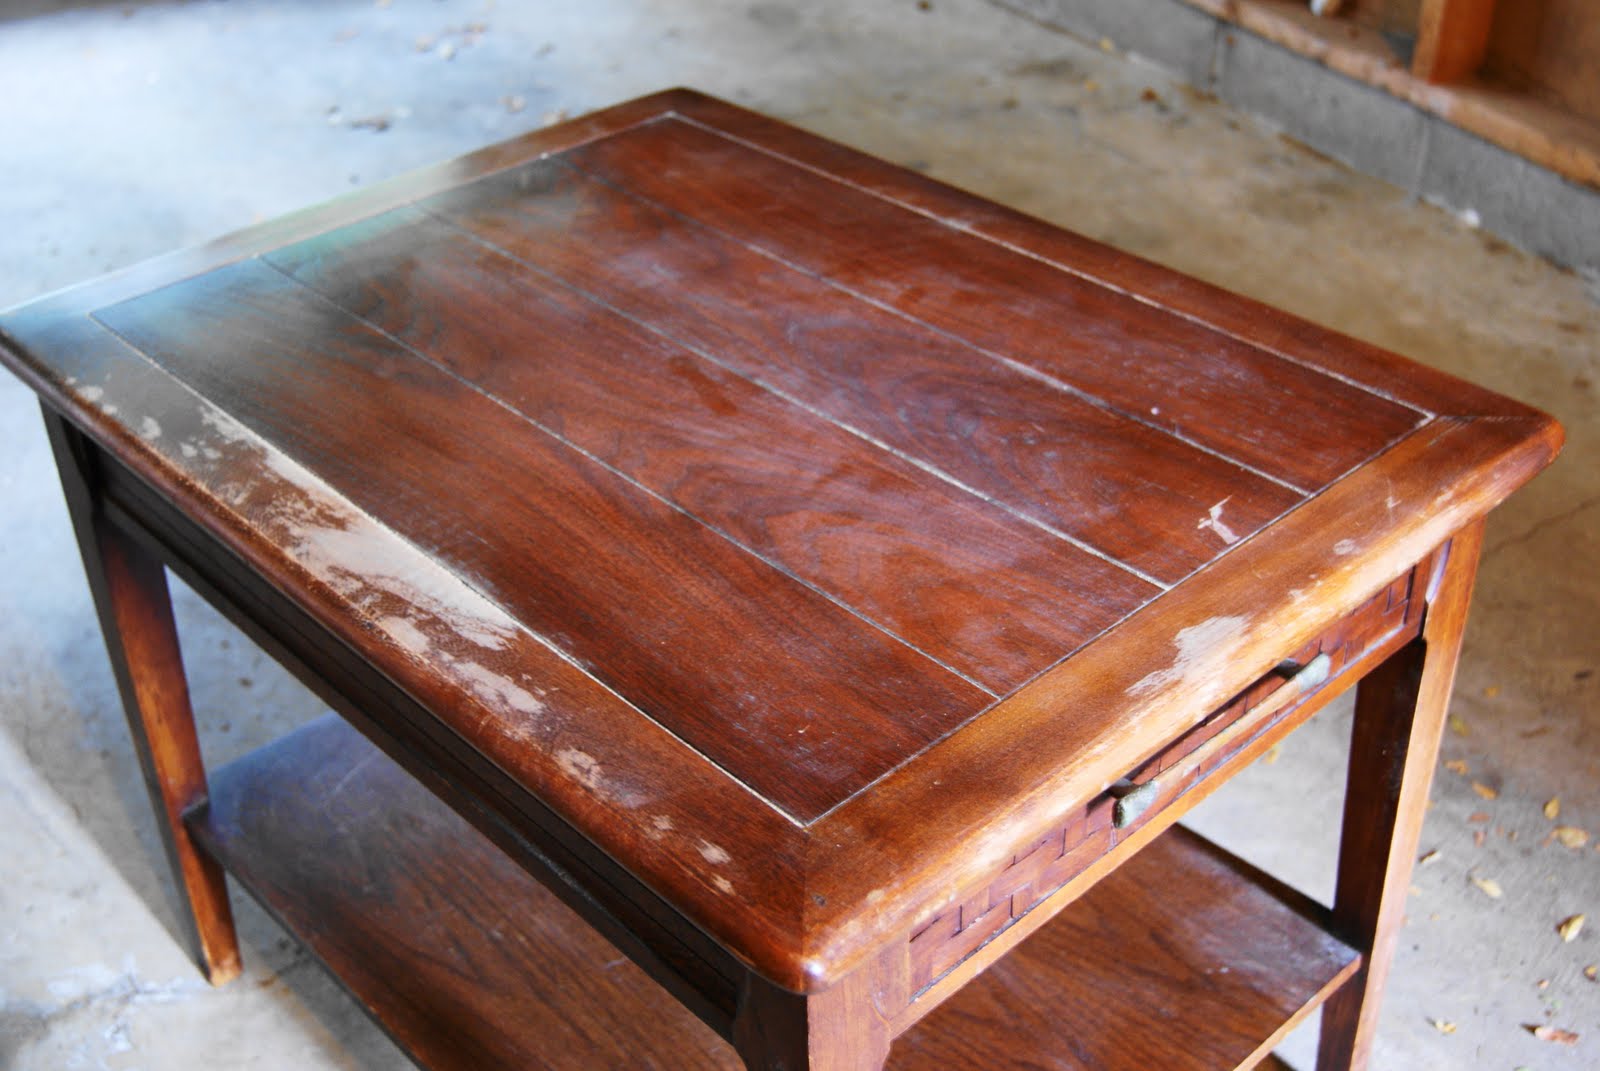
    • Finish painting furniture projects in garage
    • Power-wash exterior siding
    • Paint shutters and garage door (or replace garage door)
    • Purchase new couch and loveseats for living room and family room
    • Purchase bar stools
    • Replace all light fixtures!
    • Hem and hang new DIY curtains in living room, master bedroom and office
    • Purchase bamboo blinds for living room, office and master bedroom
    • Remove bi-fold closet doors in hallway and office (done)
    • Add shelving units, drawers and new hangers to master bedroom and office closets
    • Purchase/DIY shelves and bookcases for storage and displaying
    • Purchase nightstands and lamps for master bedroom
    • Purchase area rug for living room
    • Replace old ceiling fan with new chandelier/pendant light for dining area
    • Power-wash back deck and fence (done); paint/stain deck and add new stairs
    • Purchase outdoor furniture for deck


    I am exhausted from just typing that list. Like I said, we have a truckload of projects to tackle before September. Graduate school and full-time jobs are not exactly conducive to a Do-It-Yourself household such as ours. Cross your fingers for us!

    5/22/10

    The Search Begins.

    Although we have lived in our new/old, old/new house since September, we still have a ton of work to do. We are both students, and soon we will be a two-graduate-student household, so we plan to use our summer off (woo-hoo!) to get some things checked off the old To-Do list. This may seem rather insignificant in the grand scheme of things, but right now, we are focused on bar stools. We have a larger-than-life kitchen island complete with a bar, but we have no seating for said bar. If we were in the market for your average little stool without a back to it, I think this would've been accomplished quite some time ago. However, since we are always concerned with comfort and safety, we are on the hunt for something more like these:


    The above bar stools are all from Target (you will quickly learn that this is one of my favorite places on Earth). They are traditional and modern all at once- a perfect blend of Sterner Style!

    These are from Pottery Barn:

    The ones from Target look almost identical to the stools from Pottery Barn, and they are, of course, much cheaper. Looking for the right stools is not going to keep us up at night, but choosing the right ones is important enough where we will hold out for the perfect blend of comfort and style. Stay tuned...

    5/21/10

    Bringin' Sexy Back {To The Table}...

    Okay, so unless you're like me and are über obsessed with chic-ifying your existing furniture using some paint and new hardware, you probably wouldn't use the word "sexy" to describe your newly painted dresser, nightstand or dining room table. But, in my case, sexy is exactly the word that comes to mind when I think of my newly made-over end table. It went from drab to fab in less than a week (I had to squeeze in sanding, priming and three coats of paint between final exams and homework, otherwise it would have just been a few days). Having gone from a sad, washed out shade of walnut brown to a modern, sophisticated and lively shade of chartreuse, the table is now ready for its big reveal.

    Feast your eyes on the transformation:


    Isn't she a beaut? She makes my heart go pitter-patter every time I look at her. I don't know why I'm referring to the table as "she", but that's irrelevant. See what a little elbow grease and some paint can do for your dated furniture? Who says you can't be thrifty, "green", and stylish at the same time? Seriously, who says? I'll track 'em down and whip out these before- and- after shots of my cheap DIY makeover. How cheap? I'm so glad you asked! Here's a little budget breakdown (all items, sans table, were purchased at Lowe's unless otherwise specified):
    • 100 grit sandpaper - $3.97
    • Valspar Ultra-Premium interior latex paint, semi-gloss (1 qt.)- $13.00
    • Bulk pack of paint brushes- $4.00
    • Kilz interior oil-based primer (1 qt.), white pigmented- $7.98
    • Table-FREE (already owned)    
    Grand Total= $28.95!